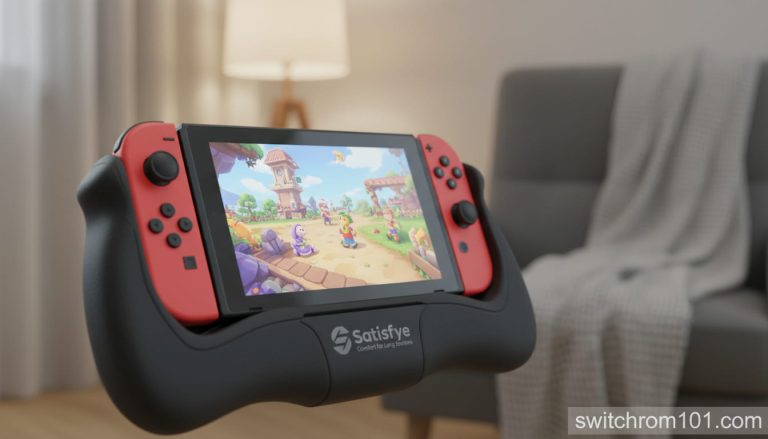
Just Got a Nintendo Switch 2? Do These 7 Things First (Don’t Skip #3)
The quick version: (1) Update to firmware 22.0.0, (2) do NOT remove the factory screen film, (3) apply a screen protector BEFORE you dock it for the first time, (4) add a microSD Express card, (5) subscribe to Nintendo Switch Online and set up GameChat, (6) transfer your Switch 1 library and saves, (7) enable Handheld Mode Boost for Switch 1 games.
Step 1: Update to firmware 22.0.0 immediately
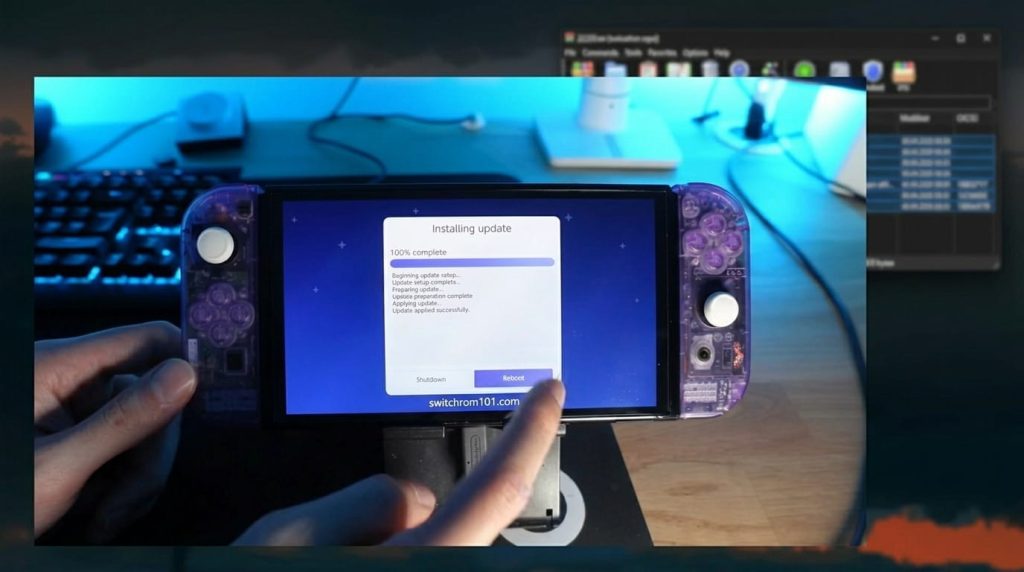
The first thing to do when you power on a new Switch 2 is connect to Wi-Fi and download the latest firmware update. As of April 2026, that is firmware version 22.0.0 (released March 16, 2026). This is important because 22.0.0 added Handheld Mode Boost — one of the Switch 2’s most meaningful quality-of-life features — and several other improvements that enhance the experience.
- From the HOME screen: Settings → System → System Update.
- If an update is available, select Update and wait for the download and installation (typically 5–10 minutes).
- The console restarts automatically after updating.
If your Switch 2 came from a retailer that stored inventory for a while, it may ship with older firmware. Always update before doing anything else.
Step 2: Do NOT remove the factory screen film
Out of the box, the Switch 2 screen has a plastic film applied over the glass. Your first instinct might be to peel it off the way you would from a new phone. Do not do this.
Nintendo explicitly warns in the Health and Safety Manual: “The screen is covered with a film layer designed to prevent fragments scattering in the event of damage. Do not peel it off.” This film is a genuine safety feature — if the screen cracks from a drop, the film holds the glass fragments together and prevents them from scattering.
The film scratches easily (Mohs hardness 3 — coin level). The solution is to protect the factory film with a third-party screen protector, not remove it.
Step 3: Apply a screen protector BEFORE you dock it for the first time (do not skip this)
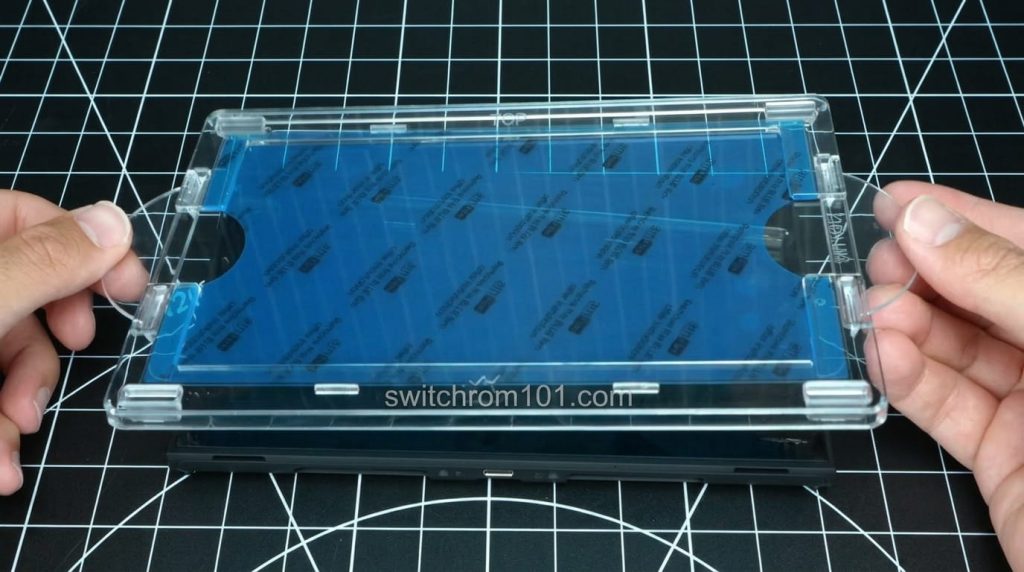
This is the step most people miss — and it is the most time-sensitive one. The Switch 2’s dock has plastic guide rails that the console slides down into. Those rails make contact with the factory film on the screen. Multiple owners have reported visible vertical scratches on their screen after just a few docking cycles.
Apply your screen protector before you ever put the Switch 2 into the dock. Once the tempered glass protector is on, the dock rails contact the protector (which is harder) instead of the soft factory film.
- Best protectors to have ready: dbrand Prism 2.0, Belkin TemperedGlass, or JSAUX Tempered Glass 2-Pack.
- If you have already docked it: apply the protector anyway. A tempered glass protector applied over existing scratches fills them through adhesion, making them less visible.
Step 4: Insert a microSD Express card before downloading games
Switch 2’s 256GB internal storage is generous but not unlimited. Final Fantasy 7 Rebirth alone takes 102GB. Before you start your download queue, insert a microSD Express card so games install to expanded storage from the start rather than requiring a migration later.
- Power off the Switch 2 fully (hold power → Power Off).
- Open the kickstand. The microSD slot is on the right side under the kickstand.
- Insert the card label-side up until it clicks.
- Power on. A prompt asks if you want to use the card for games. Select Yes.
Recommended: Samsung PRO Plus 512GB for most users. See our dedicated microSD Express buying guide for full recommendations and the firmware 22.0.0 compatibility notes.
How to emulate motion controls on citra
Step 5: Set up Nintendo Switch Online and GameChat
If you plan to play any games online or use GameChat voice/video chat, a Nintendo Switch Online membership is required. From April 1, 2026, GameChat also requires a subscription.
- eShop → select your profile → Nintendo Switch Online → choose a plan.
- Individual plan: $19.99/year — online play, cloud saves, classic game libraries.
- Expansion Pack: $49.99/year — adds Nintendo 64, GameCube, Sega Genesis game libraries and paid Switch 2 game upgrades.
- After subscribing, press the C button on your right Joy-Con 2 to complete GameChat setup (takes about 2 minutes).
If you had Nintendo Switch Online on your old Switch, it transfers to Switch 2 automatically. Sign in with the same Nintendo Account.
Step 6: Transfer your Switch 1 library and save data
Your digital Switch 1 games do not need to be transferred — they are tied to your Nintendo Account, not the hardware. Simply sign in on Switch 2 and go to the eShop → re-download any game from your purchase history.
Save data requires the System Transfer tool for local transfer, or Nintendo Switch Online cloud saves for remote migration:
- For cloud save transfer: ensure your Switch 1 saves are uploaded to the cloud (Settings → Data Management → Save Data Cloud → Upload All), then download them on Switch 2 (same path).
- For System Transfer (physical, faster): Home → System Settings → System → Transfer Your User Data. Both consoles need to be nearby and on Wi-Fi.
Physical game cartridges work immediately in Switch 2 without any transfer process. Insert and play.
Step 7: Enable Handheld Mode Boost for your Switch 1 games
Once you have your Switch 1 games installed or inserted, turn on Handheld Mode Boost to get the most out of them. This setting (added in firmware 22.0.0) makes compatible Switch 1 games run at full TV Mode performance in handheld, upgrading their render resolution from 720p to 1080p on Switch 2’s screen.
- Settings → System → Nintendo Switch Software Handling → Handheld Mode Boost → On.
The effect is most visible in 3D games with significant graphics: Zelda titles, Pokémon, Xenoblade. Try Breath of the Wild in handheld mode with Boost on and off — the sharpness difference is immediately obvious.
One thing most people miss: parental controls if buying for a child
If this Switch 2 is for a child, set up Parental Controls before handing it over. Switch 2 Parental Controls let you set play time limits, restrict who the child can interact with via GameChat, manage age ratings for content, and monitor activity.
- Settings → Parental Controls → Use This Console → follow setup.
- Download the Nintendo Switch Parental Controls app (iOS or Android) and link it to your account for remote management.
- In GameChat specifically: Settings → System → Parental Controls → GameChat → configure who can chat with your child.

(GameOverlord) has been involved in Nintendo Switch emulation
since 2019. She owns two Nintendo Switch consoles and a Steam Deck OLED,
and has hands-on tested over 40 Switch titles across Ryujinx and
Sudachi emulators. Her background is in consumer electronics and
she has followed emulation law developments in the US, UK, and EU
since the Yuzu shutdown in 2024. SwitchROM101 was built to fill the
gap left by misleading ROM sites — giving gamers accurate, legal,
and technically correct information without hosting any game files.